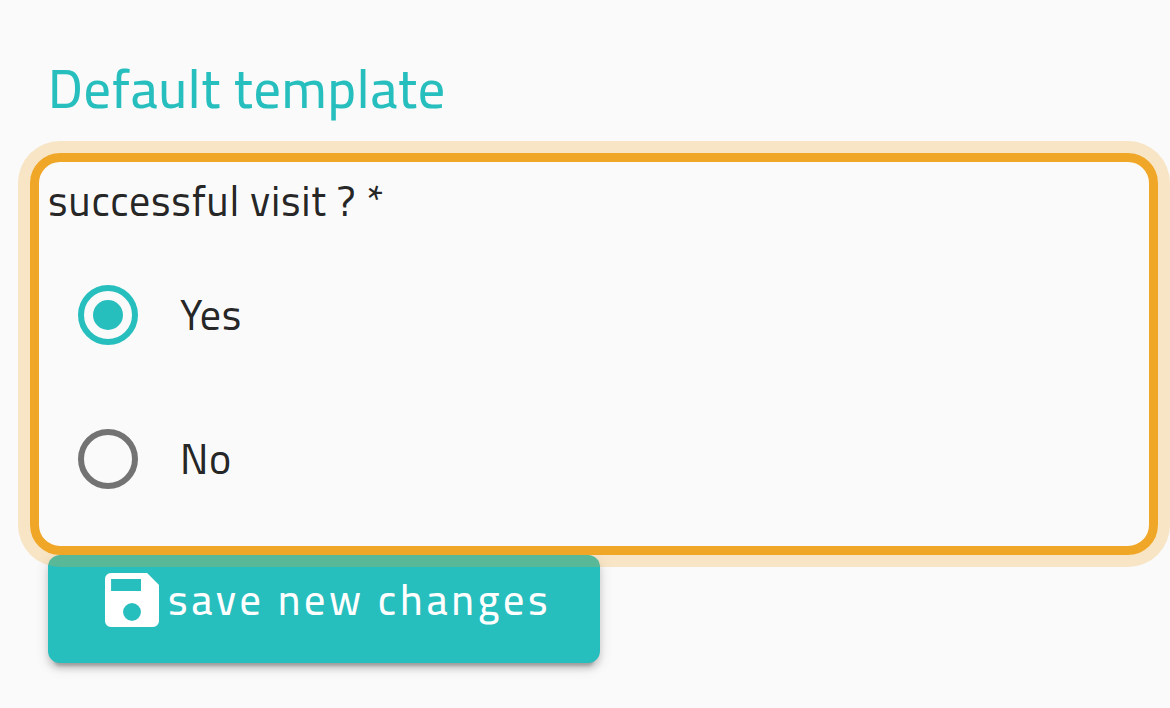

Edit a visit after checkout
Fix mistakes on a visit after it’s already finished — there’s no time limit on when you can do this.
Before you start
Section titled “Before you start”- You need the
visits:visits/editpermission. - You can edit your own visits. A manager with reach over you can also edit your visits, to help fix problems.
-
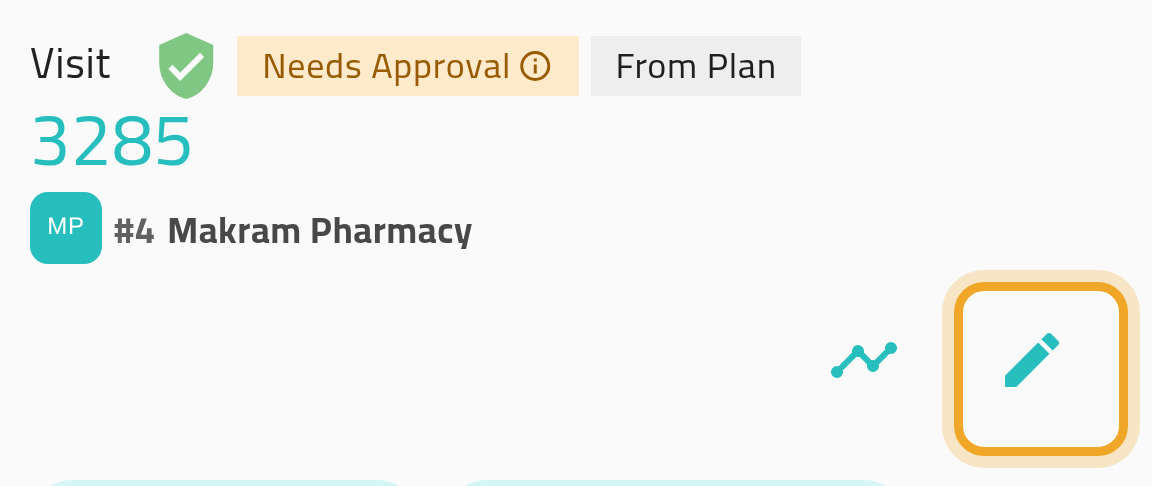
Open the visit and look for the pencil icon in the action bar — it has no text label, so look for the icon itself rather than a button that says “Edit.”
-
Change the questionnaire answers that are still editable, the products detailed, and/or the outcome.
-
Choose save new changes. You’re returned to the visit view — there’s no confirmation message, so check the visit view to see your changes took.
What can go wrong
Section titled “What can go wrong”A question you answered is missing from the edit screen
Section titled “A question you answered is missing from the edit screen”Questions marked “start only” (the pre-visit check) can never be edited once answered, and questions an administrator has marked non-editable are also left out — with no note explaining why. The screen only shows what can still be changed. A visit recorded without a questionnaire has no questionnaire section here at all — only the outcome, and product detailing where the template uses it.
You can’t find what you’re trying to fix
Section titled “You can’t find what you’re trying to fix”Editing only covers the questionnaire answers, the outcome, and product detailing. It does not cover: samples given during the visit (edit those from the visit’s Samples section instead), expenses attached to the visit (edit those from Visit Expenses instead), the check-in/check-out times or recorded location, or which customer, template, or plan the visit belongs to — none of these can be changed after the fact.
Changing the outcome moves the visit back to pending approval
Section titled “Changing the outcome moves the visit back to pending approval”If your edit changes the outcome, the approval status is worked out again from scratch. Depending on your workspace’s rules, the visit can end up needing your manager’s approval again, with “Outcome edited” shown as the reason.